Under this Mailing Tab in MS Word 2007, you can create your document in the style of a letter and send it to your friends and relatives by mail. What you can do under the Mailing Tab in MS Word 2007 and how to use it. All information can be read below in the Mailing Tab in MS Word 2007.
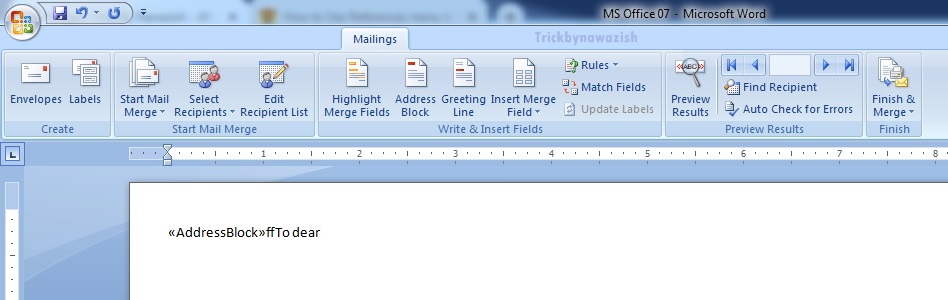
Table of Contents
Create:
- Envelope: You can write the address on the envelope.
Method: On clicking this the following dialog box will open. In this dialog box, in the address of delivery address. Write the address of the place where the letter is to be sent. And in the return address box, type the address from where you are sending it. After this, clicking on add to the document will reveal the size of the envelope.
- Preview: Click on the envelope shown in this box will open the following dialog box by which we select the size of the envelope.
- Feed: Click on the envelope shown in this box will open the following dialog box. By which how to keep the envelope in the printer. Let’s choose that.
- Labels: This option is labeled as a person’s name, address, and also his personal information, etc.
Start Mail Merge:
- Start Mail Merge: Through this, you can send an article to a lot of addresses in the Mailing Tab in MS Word 2007. This option is especially used in companies, universities, etc. On clicking on it, the following Task pane named Mail Merge will open. Select Letters in this task pane and click on the Next: Starting document below. Now the task pane will open, it has three options.
- Use the current document and select it to send the opened document to a different address.
- Start from the template Select it to send it to different addresses by typing in the word template file.
- Start from the existing document and select this to send the already existing file to different addresses.
Select the Use the current document option preceding these and click on Next: select recipients below. The next page task pane will open, it has three options.
- Use an existing list
- Select from Outlook contacts
- Type a new list
Select the Type a new list option with all three numbers. After that click on the next write your letter below, and the following dialog box will open. In this, you enter the addresses to which to send.
- New Entry: Click on this button to make a new entry.
- Delete Entry: To delete the entry made, click on this button.
- Find entry: Click on this button to find the entry made.
- Filter and sort: Click this button to sort the records in order.
- Customize: By this, you can set the field name according to yourself. On clicking this, the following dialog box will open.
- Add: Use this button to enter a new name in the field. By clicking on it, a dialog box will open in which it is ok to write the name.
- Delete: This button is used to delete the selected field name.
- Rename: Use this button to change the name of the selected field name.
- Move Up: Use this button to top the selected field name.
Move Down:
Use this button to lower the field name selected. Now use the option that is required to do ok. In the dialog box of the new address list visible, enter all the addresses to which the addresses are to be sent. After this close this dialog box and save the file with this address by any name. The following dialog box will open in front of you.
You can make any kind of change in the entry through the Edit button present in it. After that click on the OK button and click on Next in the task pane. And click on the next: preview your letter in the task pane that appears after this. Another task pane will open as seen on the next page.
Now click on this more item option, and the following dialog box will open. Select each one from the field name present in it. And bring it to the part of the document where you want by inserting a button. After this, close this dialog box in the Mailing Tab in MS Word 2007.
After this, click on Next: Preview your letters in the present task pane. The following task pane will open. In it, click on Next to complete the merge, and the following task pane will open. through print, all the addresses can be printed on the document MS Word.
Show Mail Merge Tool Bar:
Through the Mailing Tab in MS Word 2007 option, you can bring the Show Mail Merge Toolbar. And can hide. This toolbar has all those options. Which is in the mail merge task pane.
- Select Recipients: If you click on it, three options will appear in front of you. These are as follows.
- Type new list: With this option, you can create a new list of mail recipients.
- Use existing list: With this option, you can use the already created list.
- Select from Outlook contacts: With this option, you can use the contact list in Outlook.
- Edit Recipient List: With this option, you can edit the list of Mail Recipients, that is, you can add the name, address, etc, and also delete it.
Write & Insert Fields:
By selecting each one present in it, you can insert and highlight your document from the address book created.
- Highlight Merge Fields: With this option, you can Highlight the Page Blocked Address Block.
- Address Block: With this, you can insert the mail list you have created on your page.
- Greeting Line: With this, you can insert a greeting line in your page like First Name, etc.
- Insert Merge Field: With this option, you can insert all the fields that you have created in Mail Merge, alternately in the page.
Rules: Mailing Tab in MS Word 2007
Specify the rules to add the decision-making capability of mail merge to this. For example, if you can use the recipient’s address to check. You can show the recipient a local phone number and an international phone number for recipients outside your country.
- Match Fields: This allows you to tell the meaning of different fields in your recipient list.
- For example: You can indicate that your custom field home is equal. To the normal built-in field home phone.
- Update Labels: If you are updating all the labels of a document. To use the information from the list of recipients.
Then you create the label. This comment is not necessary for a mail merge in a printed letter or email.
Preview Result:
Replace the merge field in your document in the Mailing Tab in MS Word 2007 with the actual data from your recipient list so that you can see how it looks.
- Find Recipient: Find and preview a specific record in the recipient list by searching for text.
- Auto Check for Errors: Specify how to handle errors that occur while completing a mail merge. You also have the option of a mail merge simulation to see if there will be an error.
Finish:
You can create separate documents for each copy of the letter, send all of them directly to the printer, or send them via mail in the Mailing Tab in MS Word 2007.
Conclusion:
The Mailing tab in Microsoft Word 2007 provides a comprehensive set of tools for creating, customizing, and sending documents such as letters, envelopes, and labels. From addressing envelopes to conducting mail merges with recipient lists, this tab streamlines the process of managing correspondence for both personal and professional purposes.
FAQ:
What can I do with the “Envelope” option under the Mailing tab in MS Word 2007?
The “Envelope” option allows you to create and print envelopes by specifying the delivery and return addresses. You can choose the envelope size and configure printer settings for accurate printing.
What is the purpose of the “Show Mail Merge Tool Bar” option?
The “Show Mail Merge Tool Bar” option enables you to display or hide the Mail Merge Toolbar, which contains shortcuts to various mail merge functions and options available in the task pane.
How do I start a mail merge process using the Mailing tab?
To start a mail merge, click on “Start Mail Merge” and select the desired option: using the current document, starting from a template, or starting from an existing document. You can then select recipients, write your letter, and preview the merge before completing it.